由于 ReactNative 以后不再更新 Navigator, 这一次项目的导航换成了它主推的 react-navigation 记录一下使用方法
首先, 安装 react-navigation npm install --save react-navigation
创建一个 Navigaiton:
1 | |
运行 app 我们看到的页面是这个样子的:
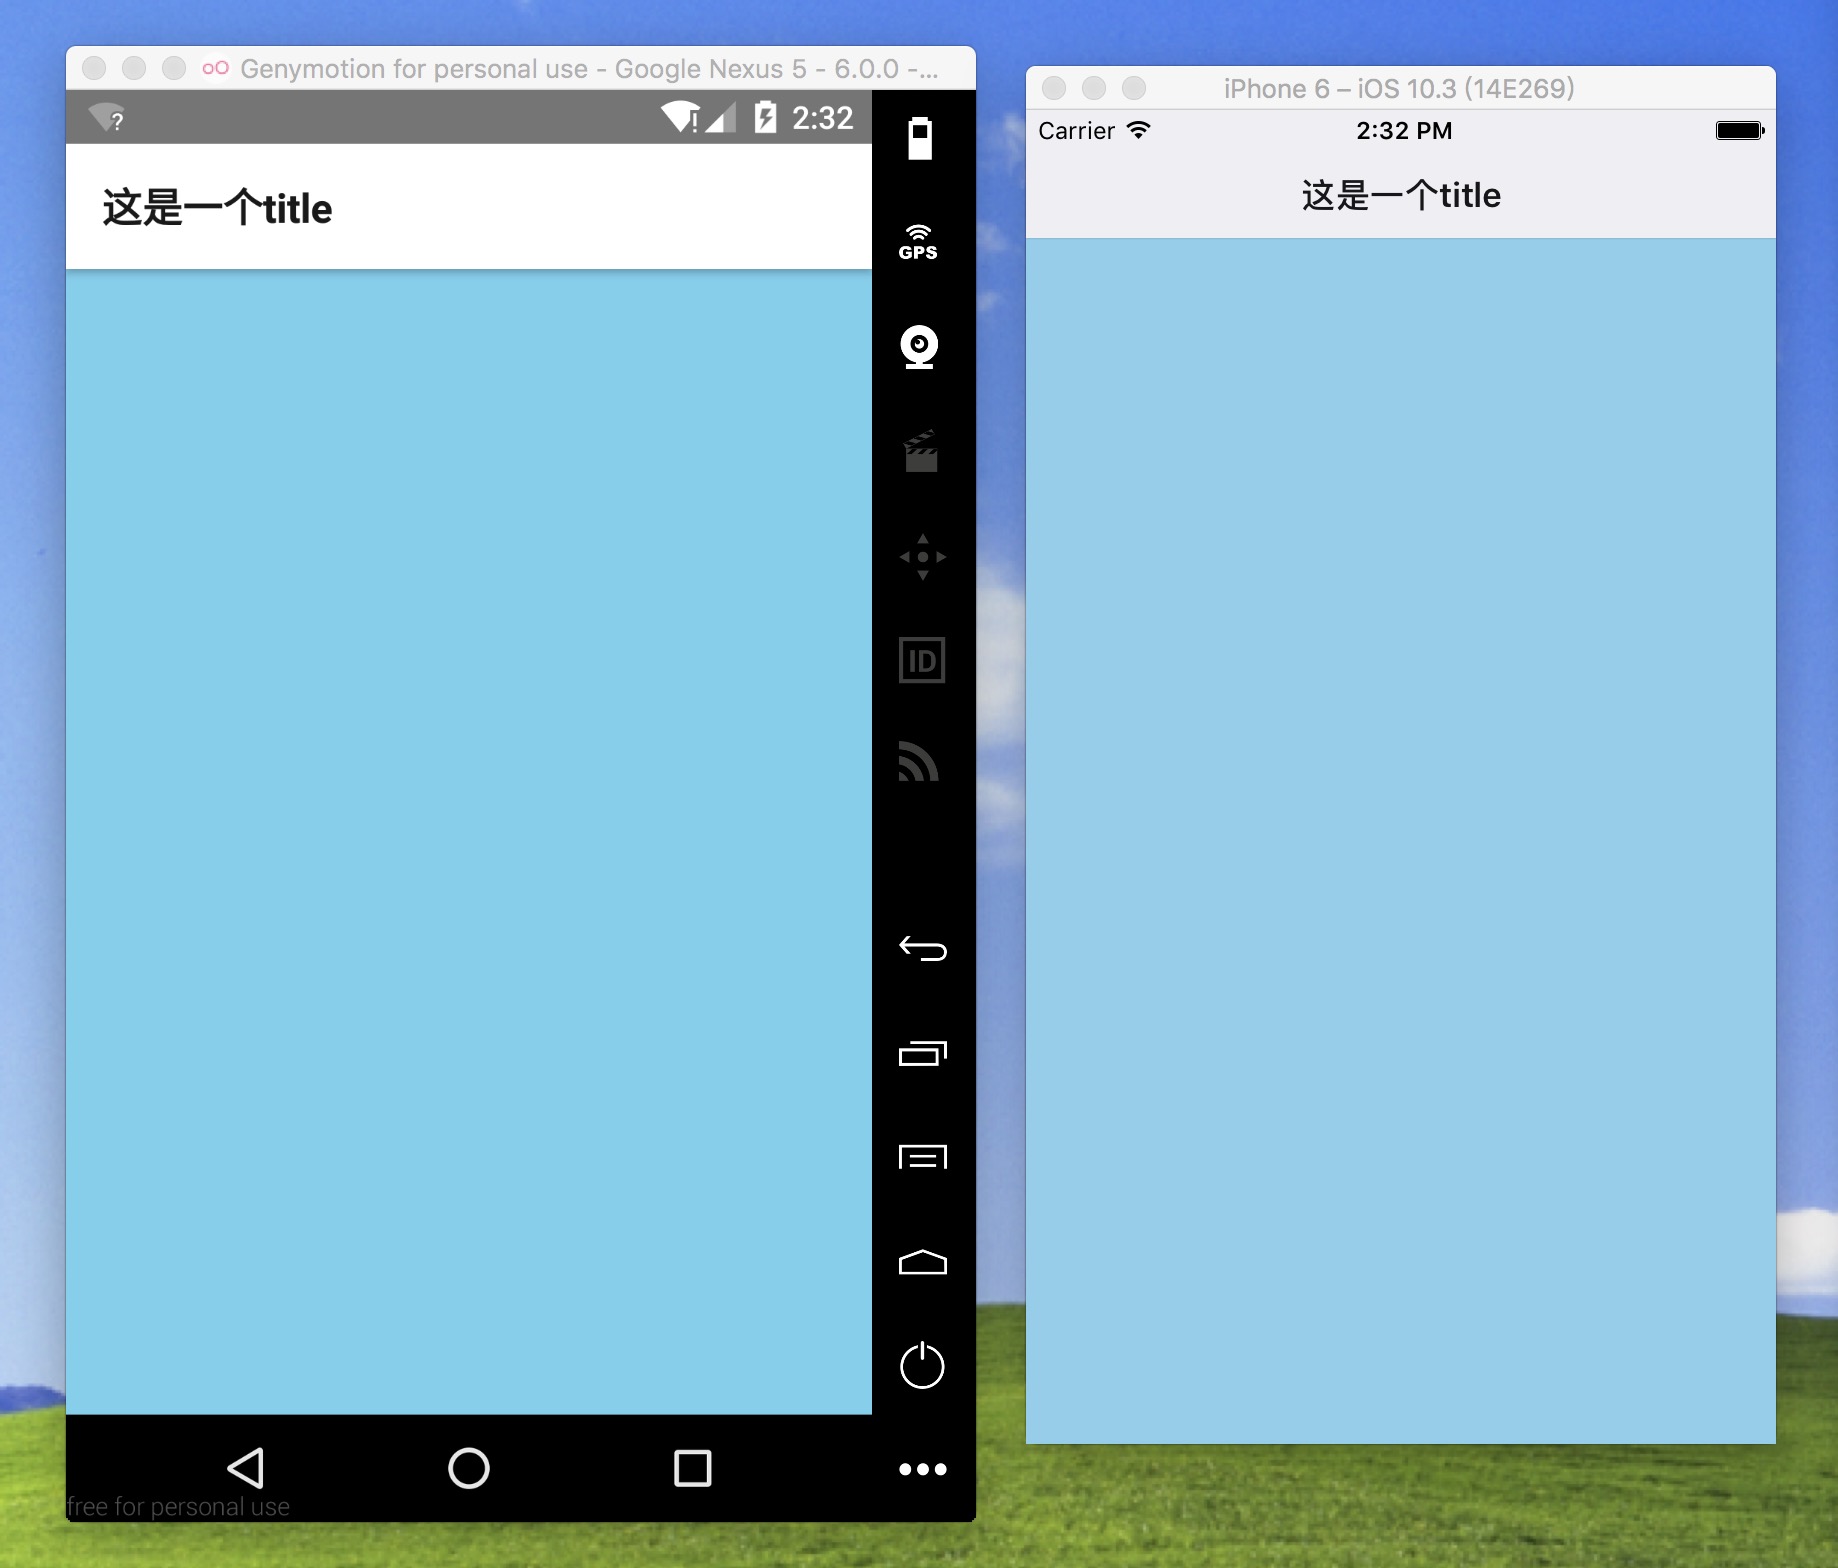
有一个白色的导航栏和一个标题, 其实这个导航栏上面的配置也可以写在各个页面中, 比如
1 | |
这样的写法会覆盖掉第一种写法中的内容, 这里还有很多关于 StackNavigator 的属性, 由于我们一般都是自定义 Navigation 所以一般不多用, 接下来看一下它的跳转传值与回调:
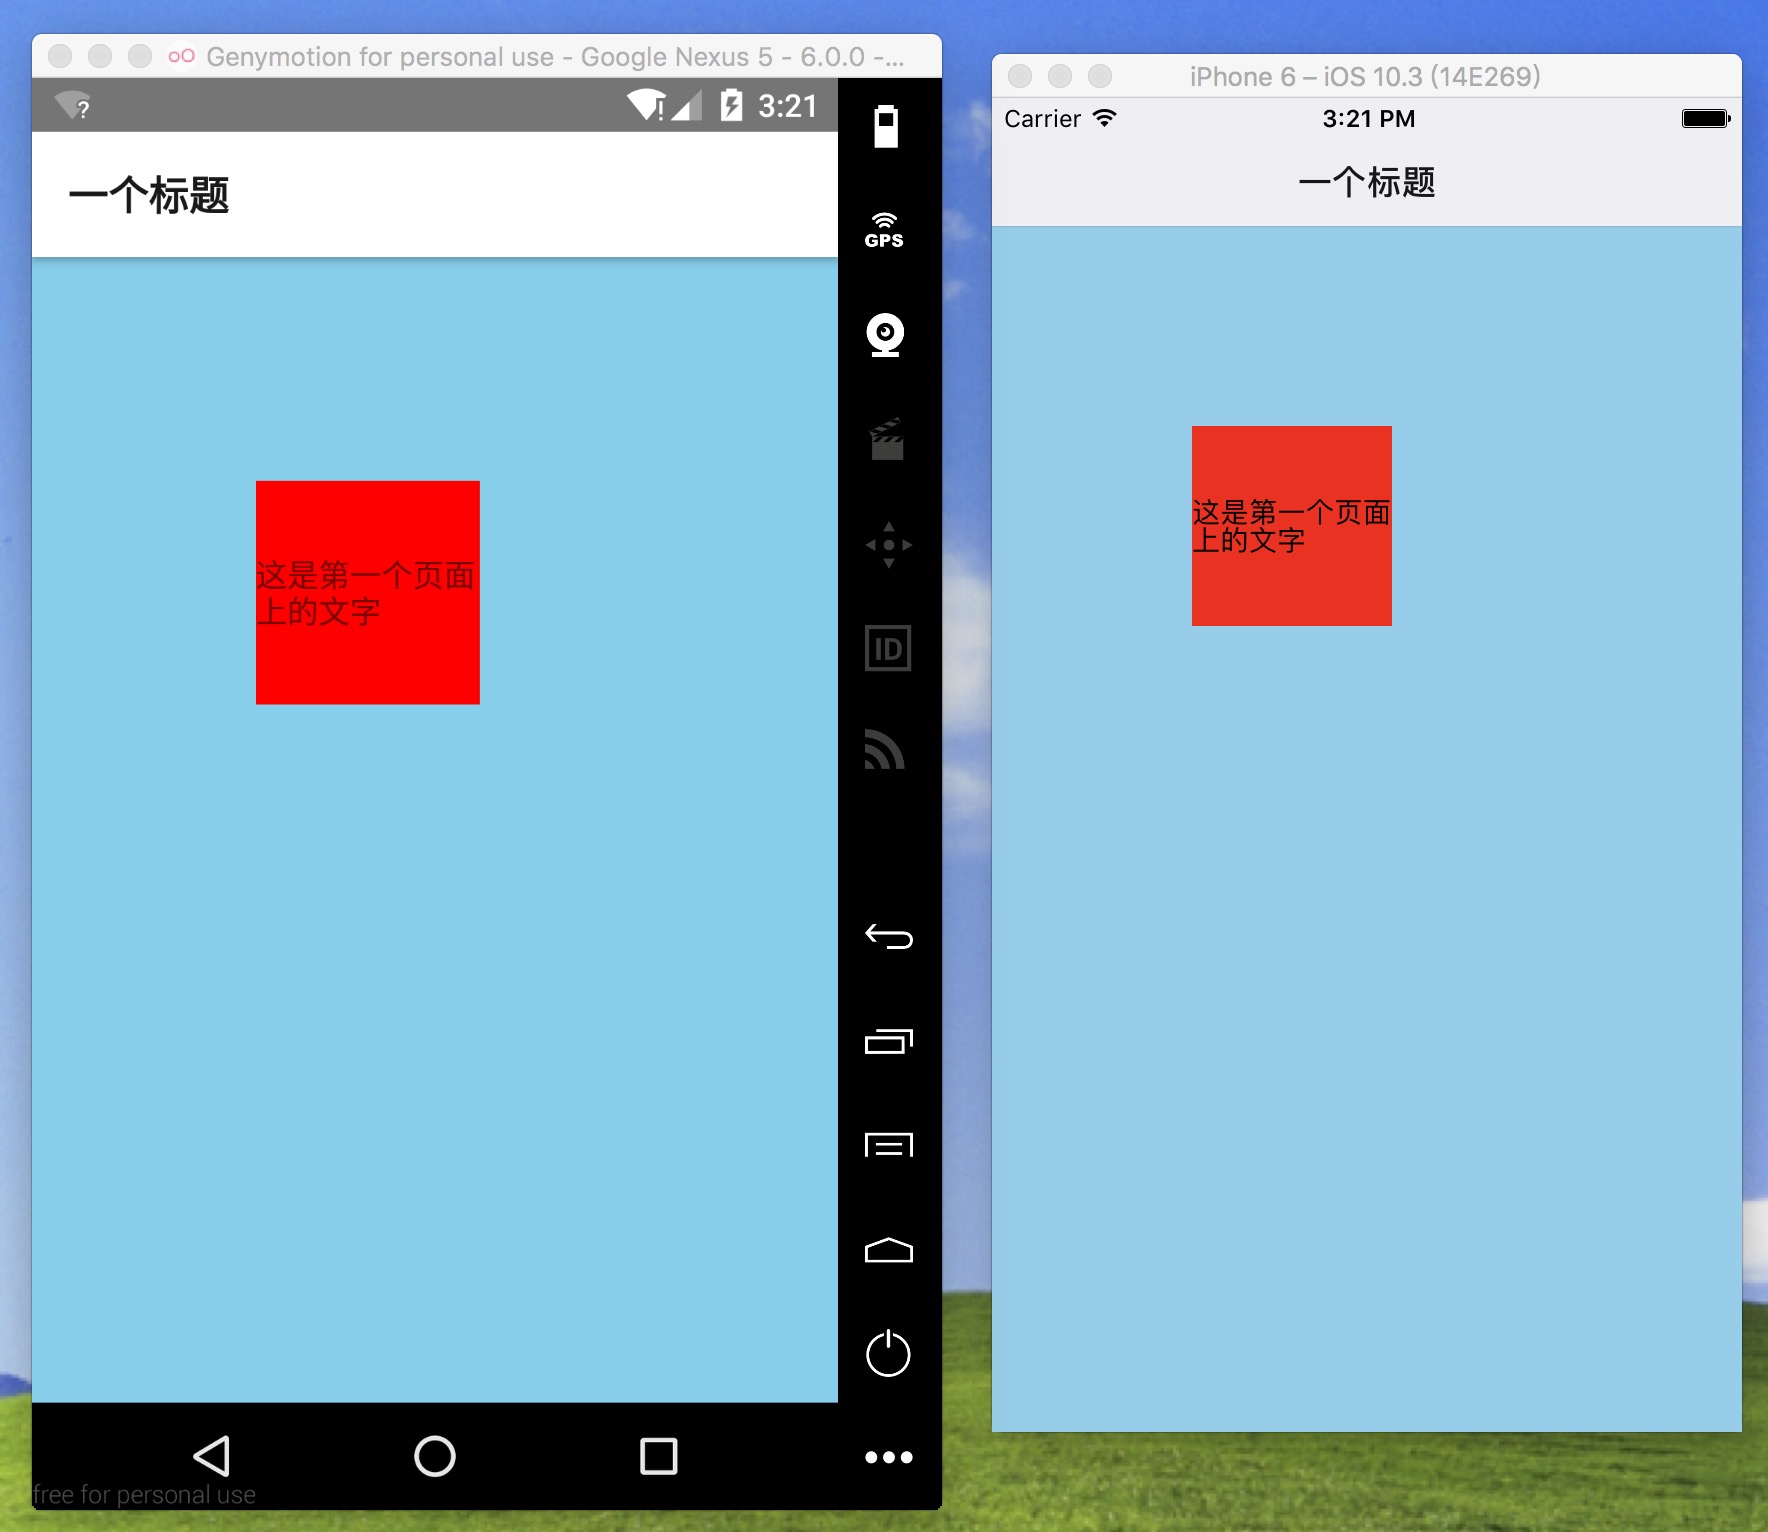
首先是跳转, 我们可以先写一个这样的页面:
然后复制一份代码给第二个页面, 稍微改一下文字即可, 再在导航控制器中注册一下页面:
1 | |
然后再写出 button 的点击事件
1 | |
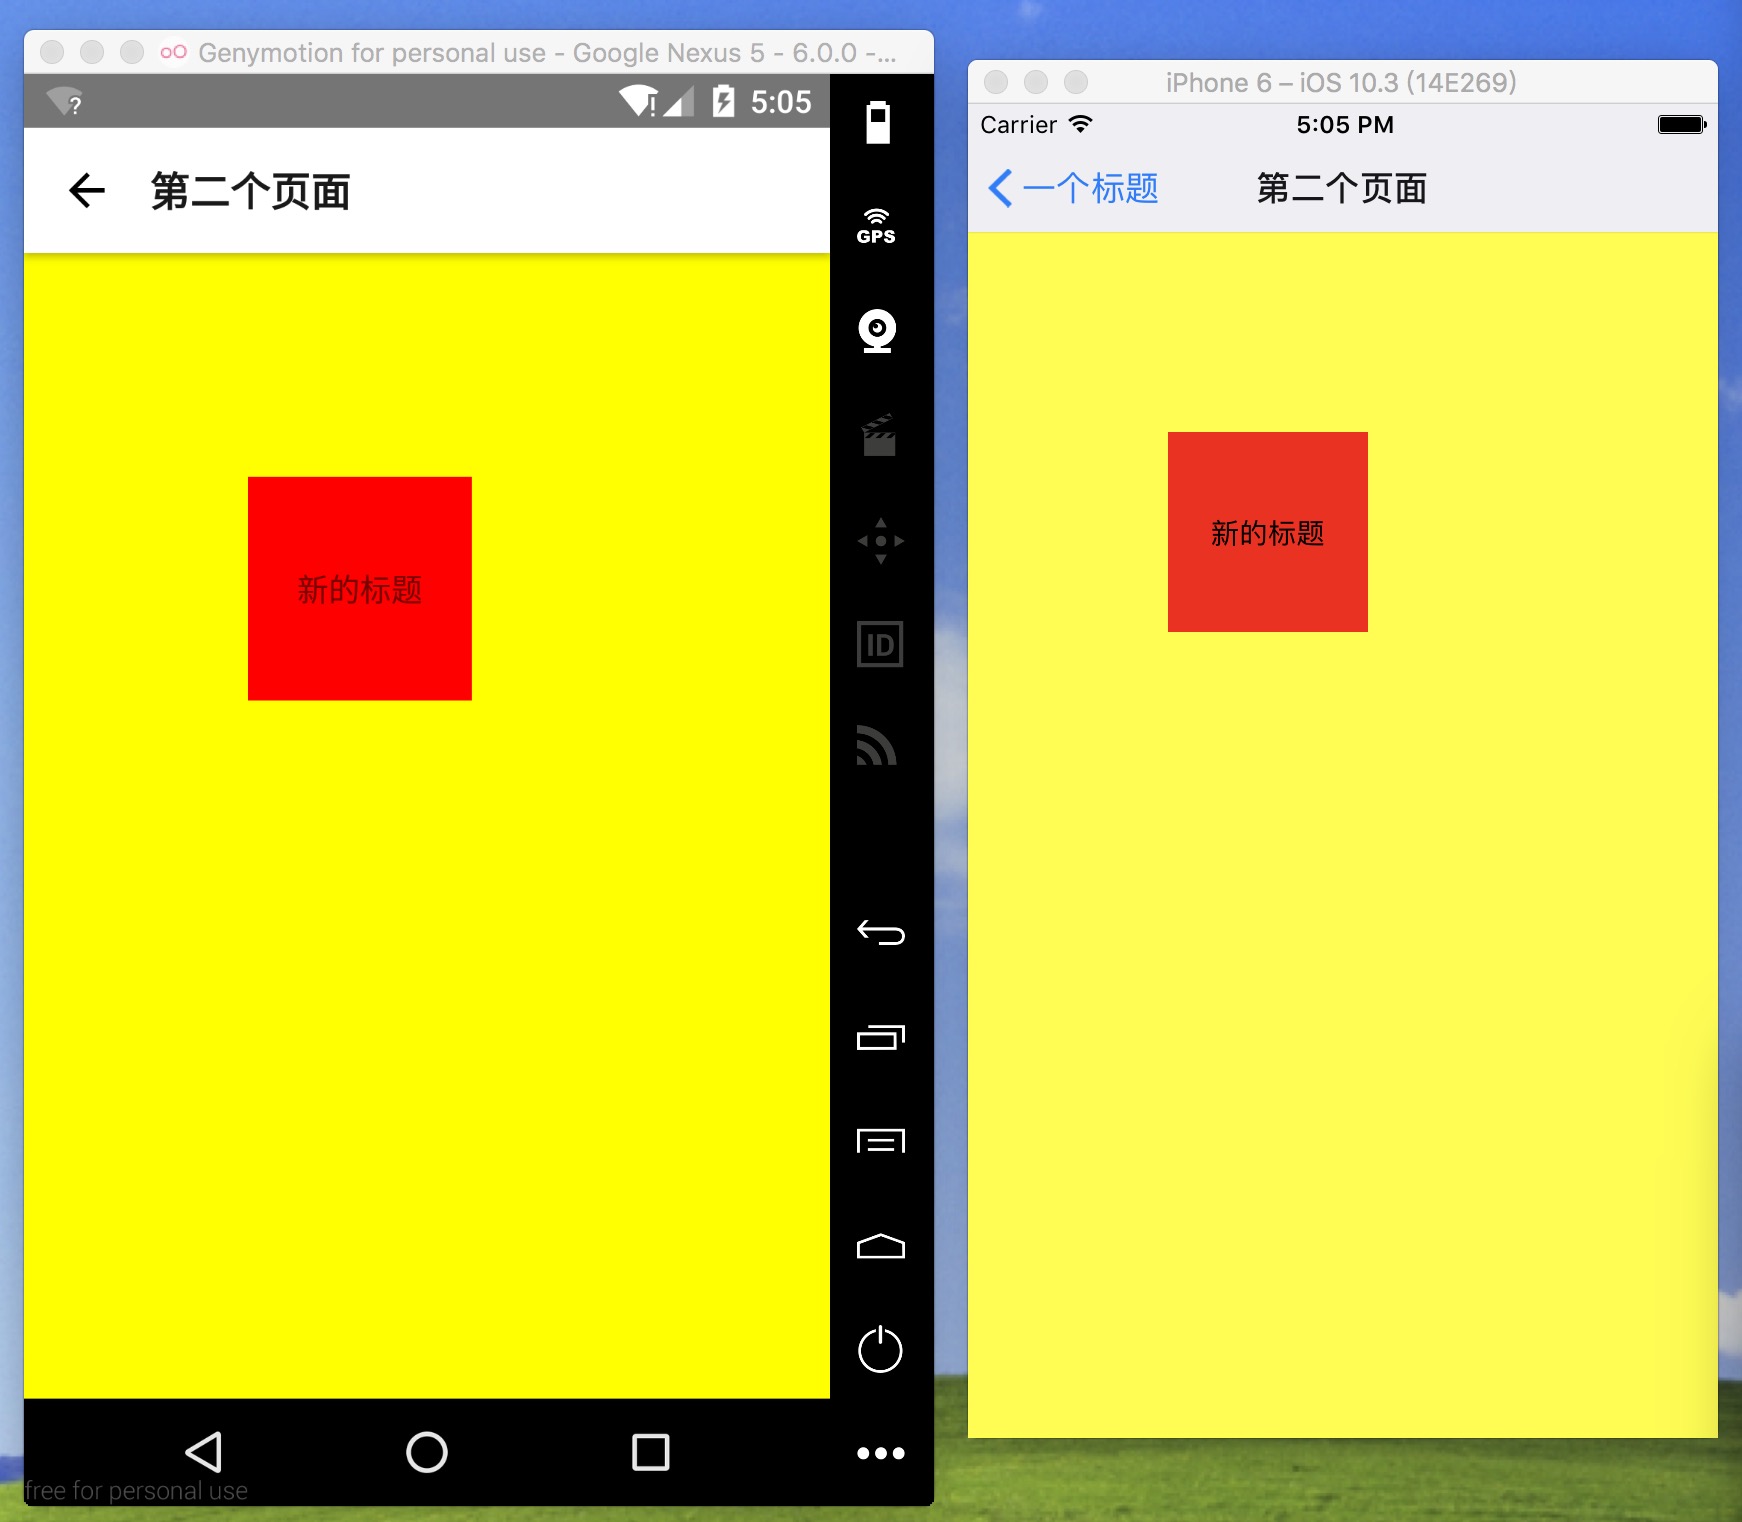
这样就成功的跳转到第二个页面了

如果想传一些值过去可以这样写:
1 | |
在第二个页面中这样取值:
1 | |
回调:
和 Navigator 类似, 我们可以现在第一个页面穿进去一个函数, 上面带上我们想要的参数传给第二个页面, 例如:
1 | |
1 | |
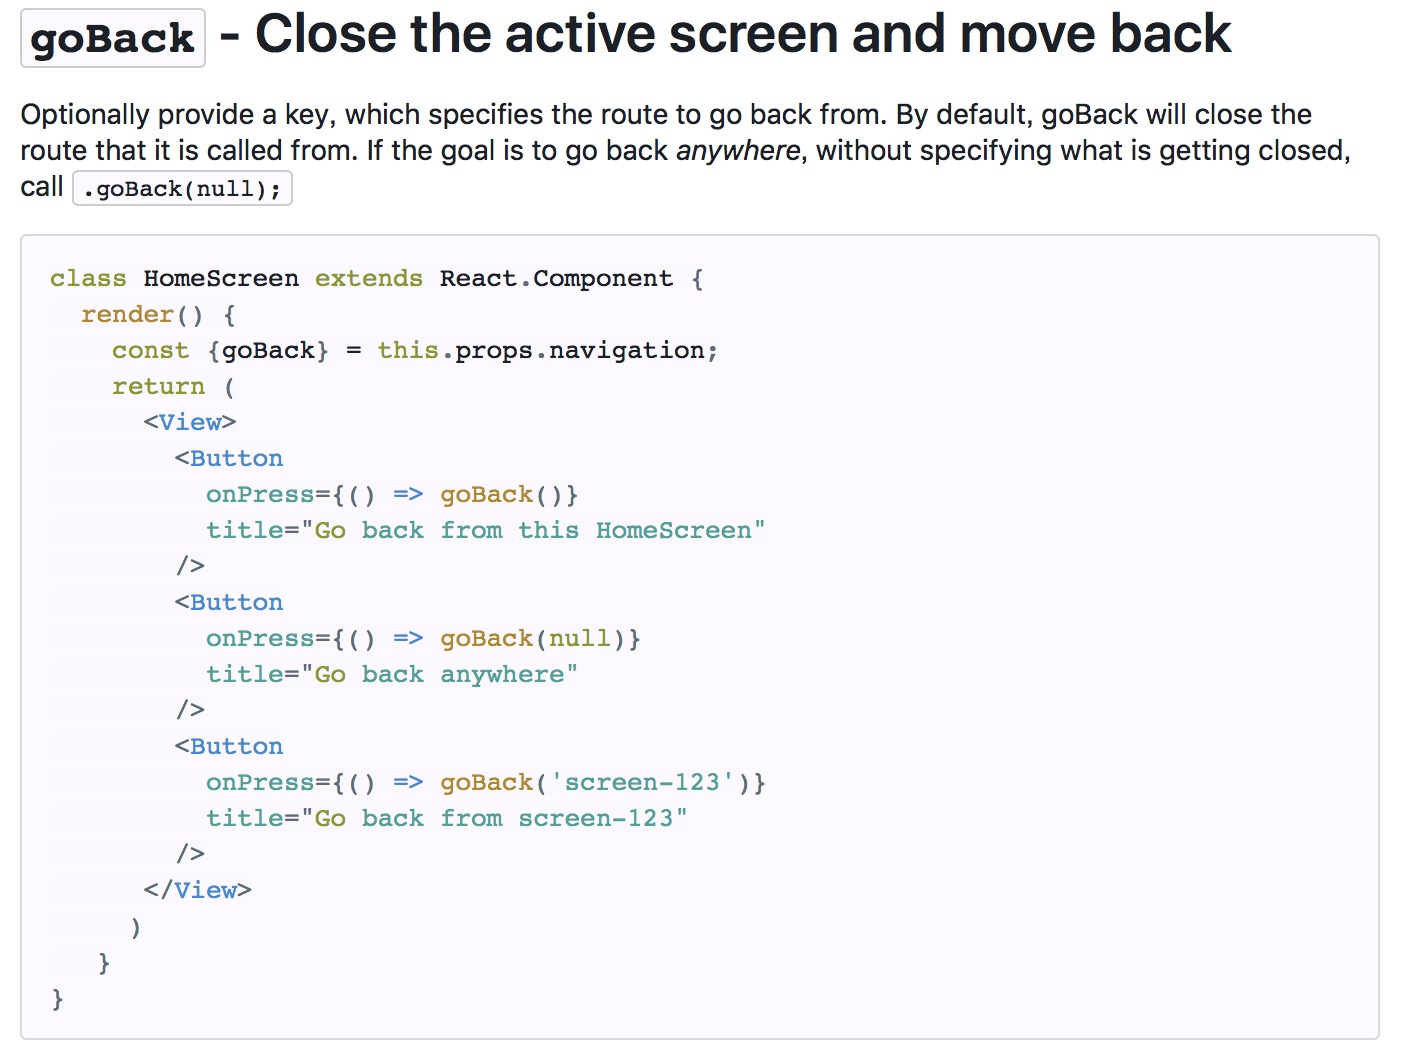
其实就是获取到每个页面唯一的 key 就可以了, 这个 key 是一个可变的字符串, 可以通过 this.props.navigation.state.key 来获取到, 然后: this.props.navigation.goBack(key) 就行了
TabBar TabNavigator
也就是 tabbarController 他的写法大概是这样的:
1 | |
效果:
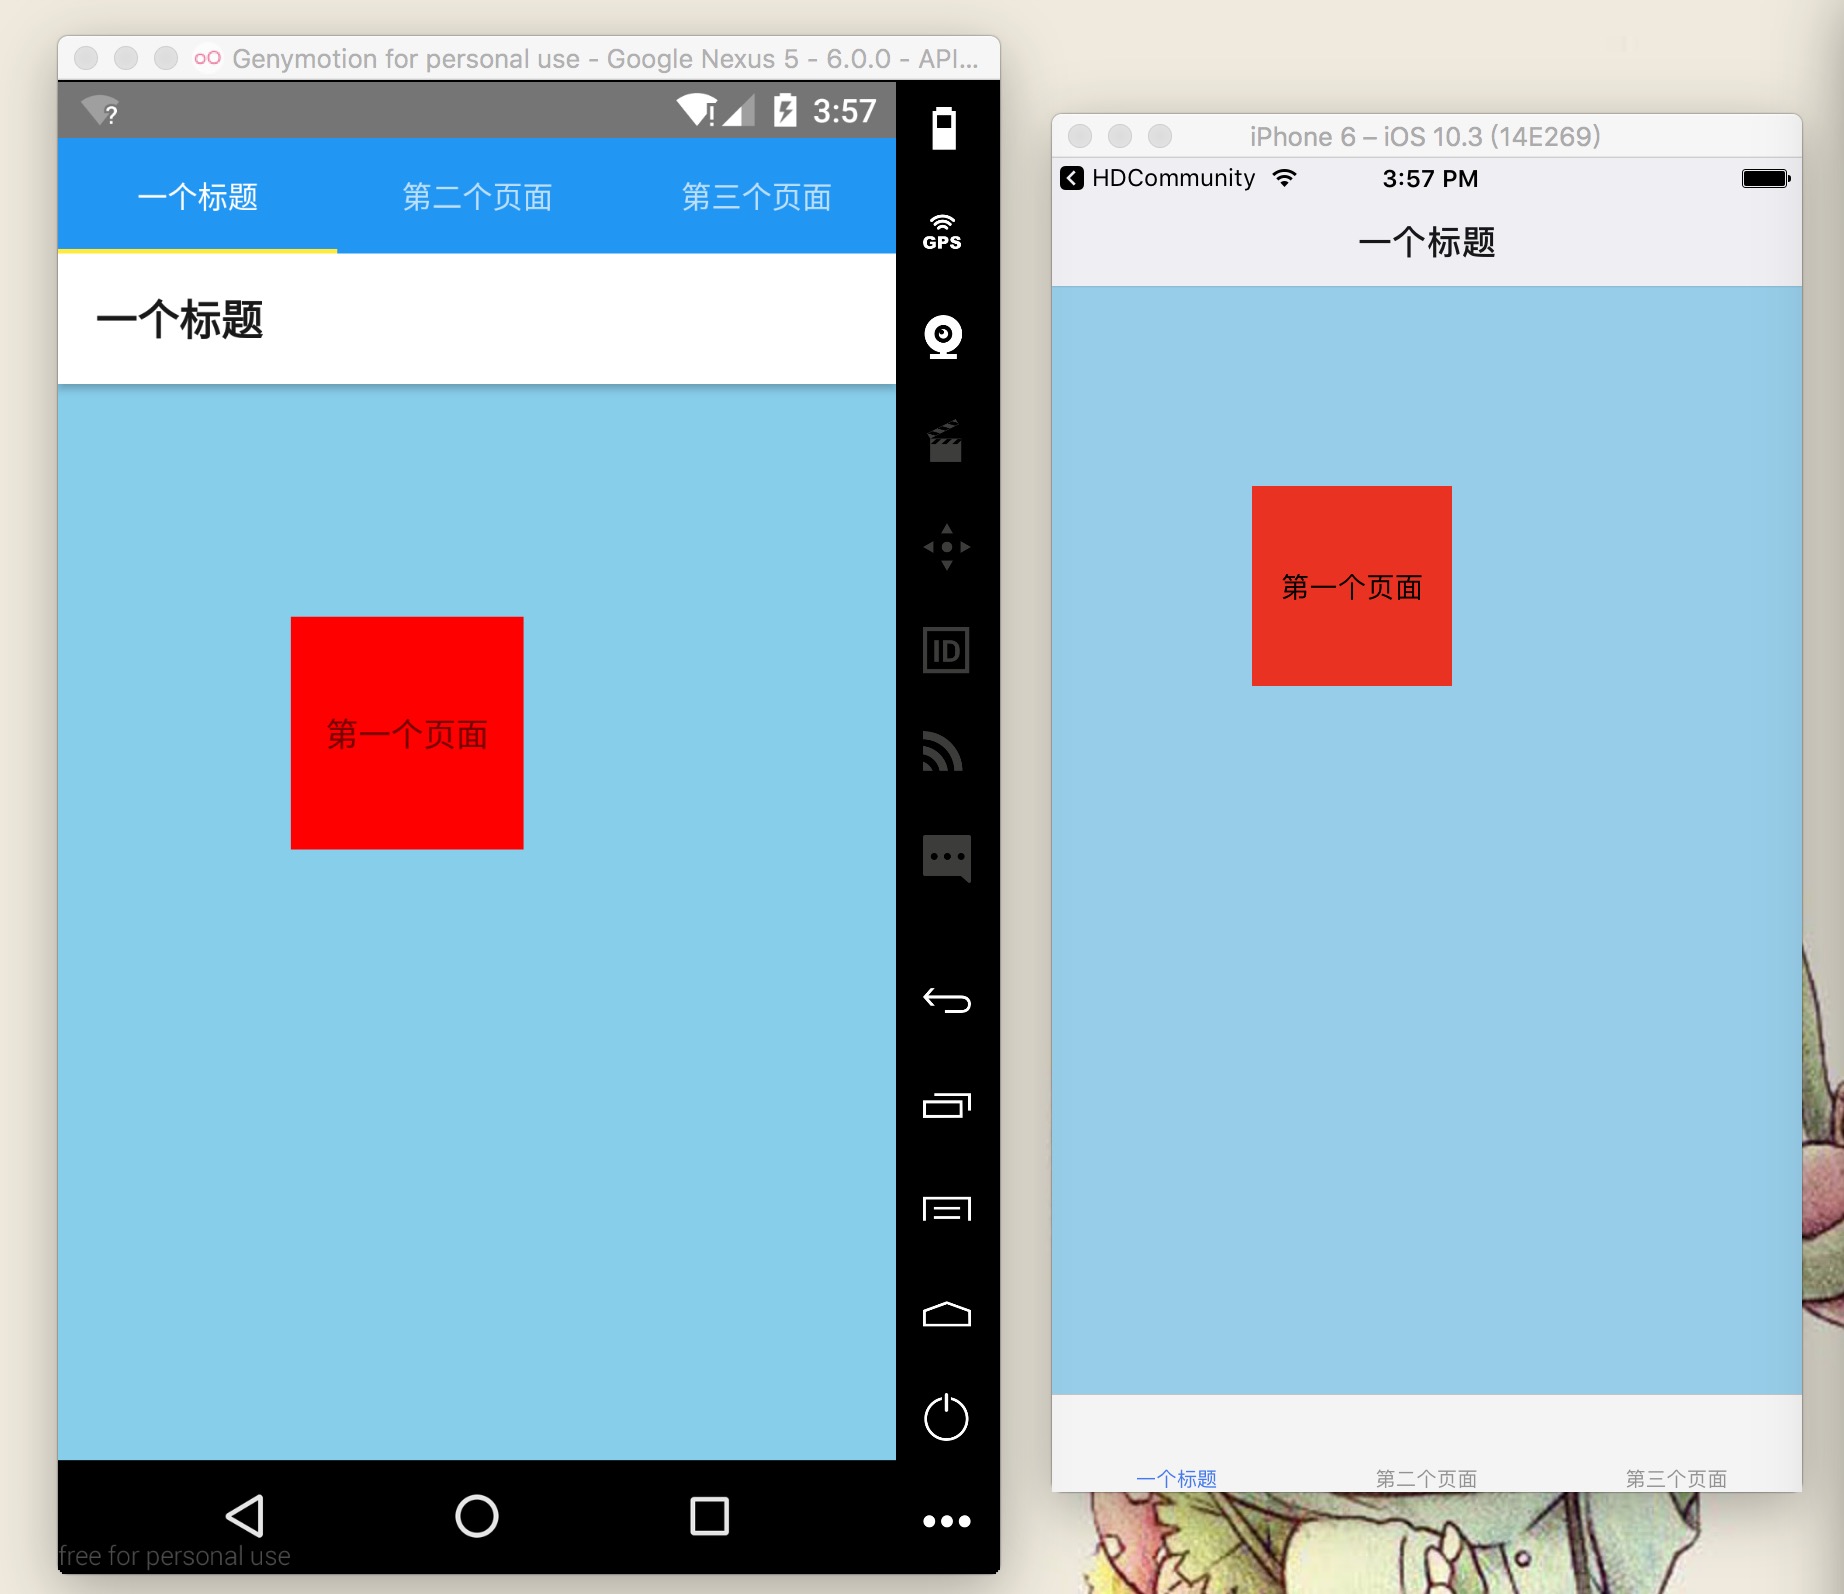
…安卓和 iOS 效果差别还是很大的, 我们可以通过一些属性来使他们看起来类似
1 | |
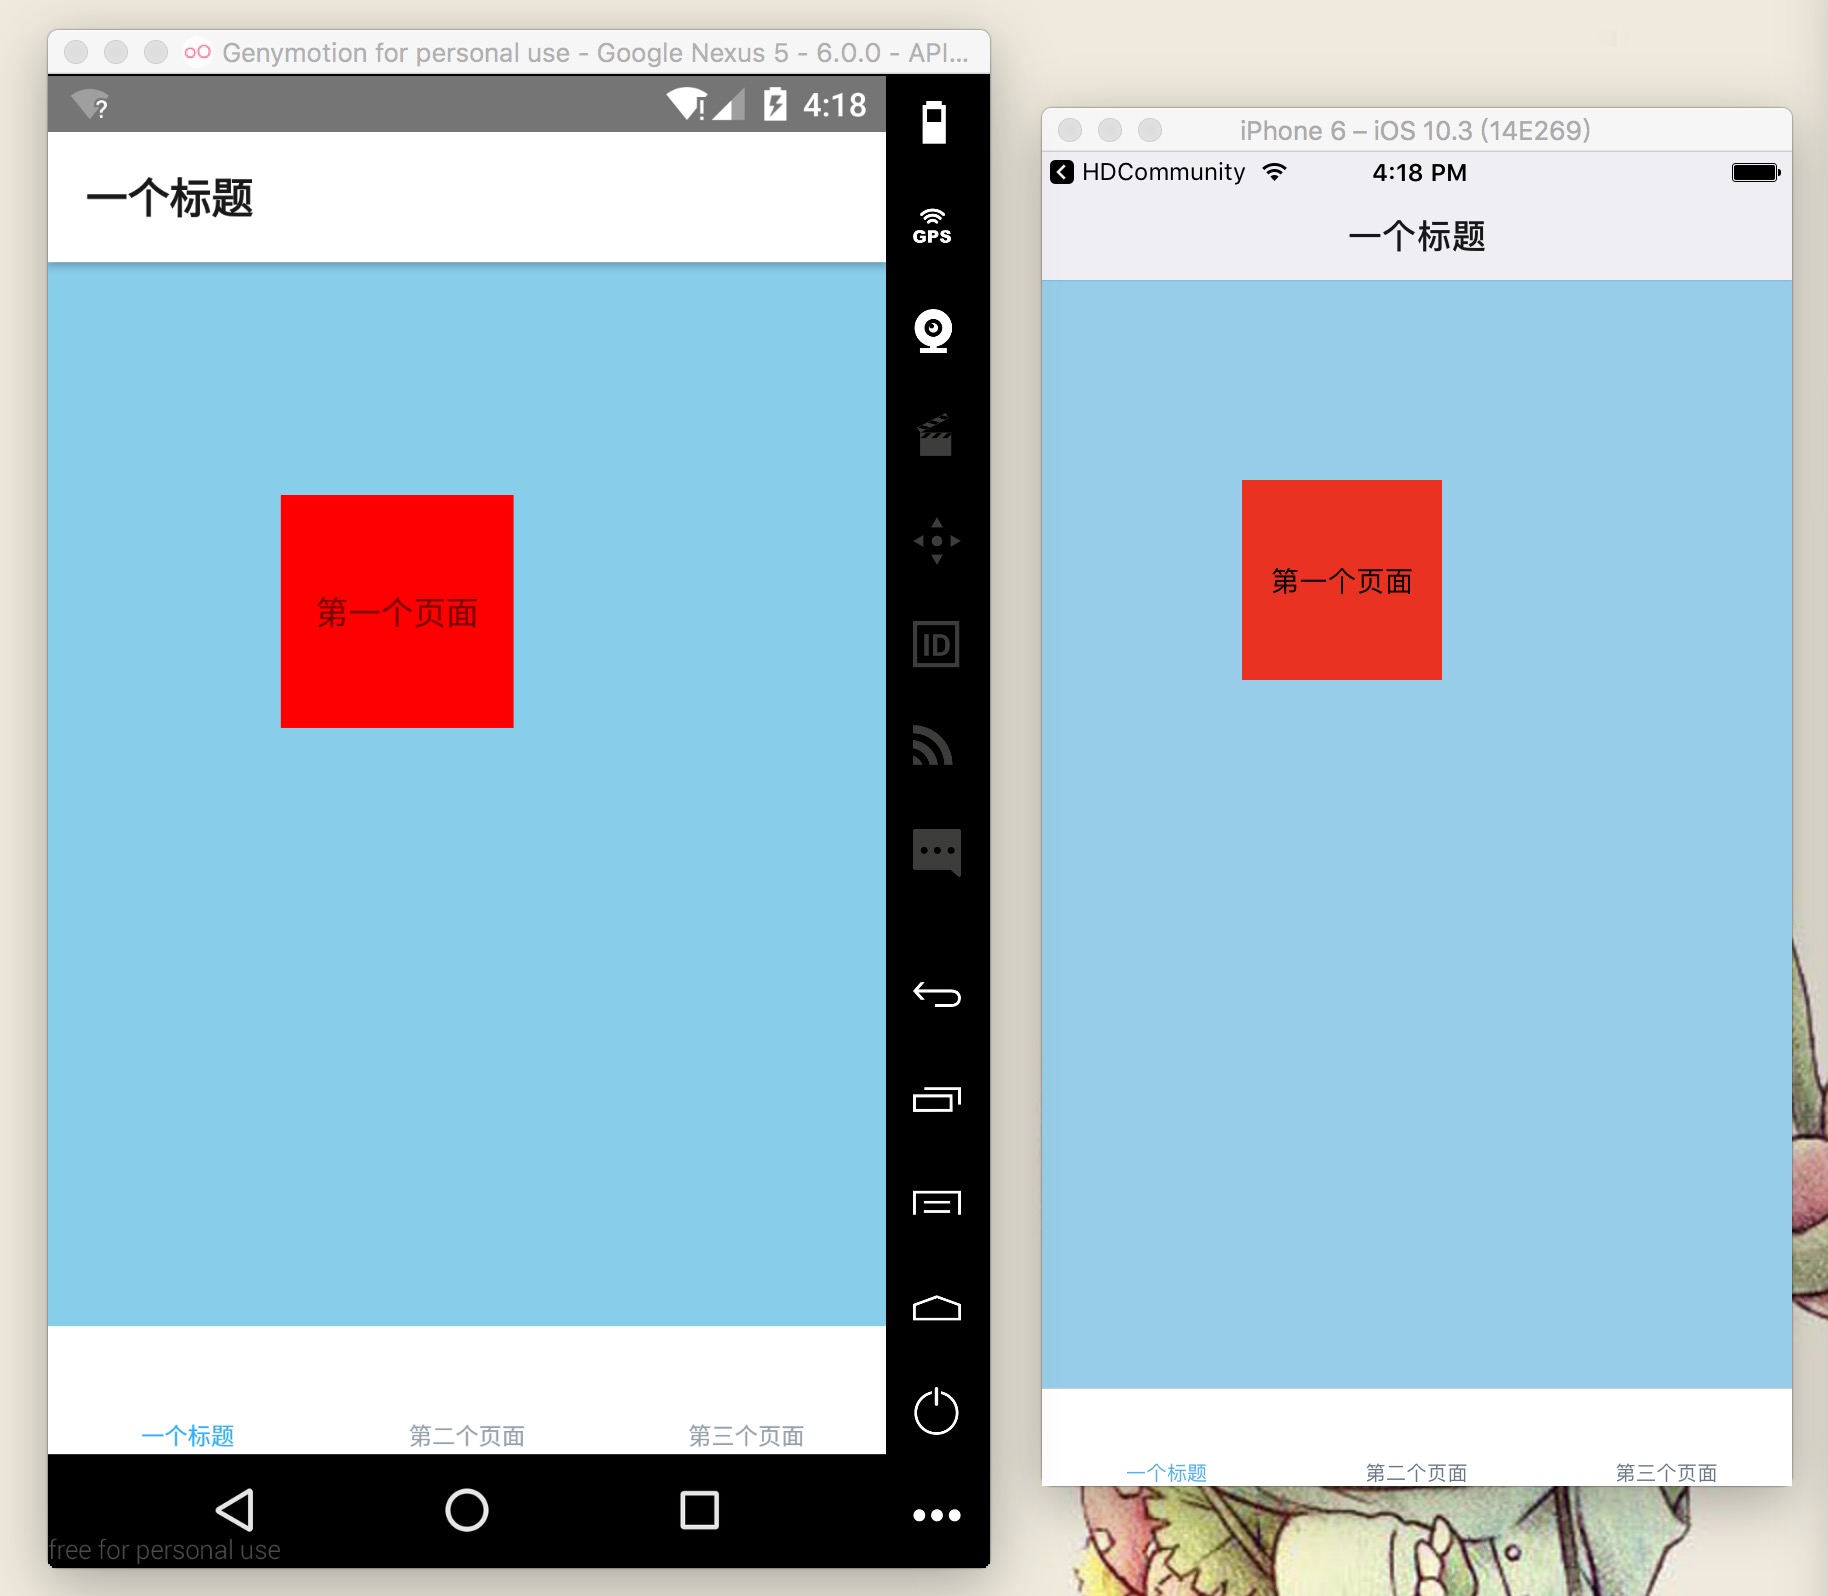
具体属性在上面的链接中可以找到
关于 tabbar 图标切换的问题, 我是根据 tabBarIcon 的 tintColor 属性去判断的, 因为它貌似只有这一个参数…
1 | |