不知道用不用这个开发呢…
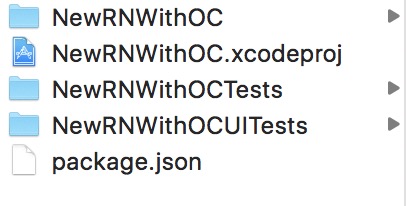
1.首先新建一个 iOS 工程, 我们就叫他 NewRNWithOC 吧. 2.在工程的根目录创建一个文件, 命名为 package.json, 里面的代码大概是这样的:
1 | |
现在的目录:
 3.然后在根目录下执行
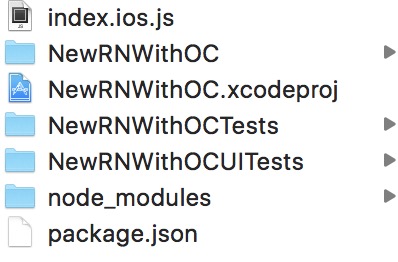
 npm install
4.在根目录下面创建一个 index.ios.js 可以复制一份 hello world 的代码进去
 5.写一个 Podfile 导入需要的 RN 组件
1 | |
6.安装组件之后, npm start, 实现原生跳转 RN :
#import "ViewController.h"
#import <React/RCTRootView.h>

@interface ViewController ()

@end

@implementation ViewController

- (void)viewDidLoad {
    [super viewDidLoad];
    // Do any additional setup after loading the view, typically from a nib.
    self.view.backgroundColor = [UIColor whiteColor];
    UIButton *button = [[UIButton alloc] initWithFrame:CGRectMake(100, 100, 100, 100)];
    button.backgroundColor = [UIColor redColor];
    [self.view addSubview:button];

    [button addTarget:self action:@selector(buttonAction) forControlEvents:UIControlEventTouchUpInside];
}

- (void)buttonAction {
    NSURL *jsCodeLocation = [NSURL
                                 URLWithString:@"http://localhost:8081/index.ios.bundle?platform=ios"];

    RCTRootView *rootView =
    [[RCTRootView alloc] initWithBundleURL : jsCodeLocation
                         moduleName        : @"RNHome"
                         initialProperties : nil
                          launchOptions    : nil];
    UIViewController *vc = [[UIViewController alloc] init];
    vc.view = rootView;
    [self.navigationController pushViewController:vc animated:YES];
}
7.RN 跳转 原生页面:
新建一个原生页面 继承于 NSObject 我就叫他 RNModule 了

.h
#import <Foundation/Foundation.h>
#import <React/RCTBridgeModule.h>

@interface RNModule : NSObject<RCTBridgeModule>

@end

.m

#import "RNModule.h"
#import "AppDelegate.h"

@implementation RNModule

RCT_EXPORT_MODULE(); // 导出模块

RCT_EXPORT_METHOD(popViewController){ // 实现 RN 页面上 的 popViewController 方法 由原生来执行 达到返回原生页面的目的

    dispatch_async(dispatch_get_main_queue(), ^{ // 必须在主线程中执行

        AppDelegate *app = (AppDelegate *)[[UIApplication sharedApplication] delegate];

        [app.nav popViewControllerAnimated:YES];
    });
}

@end
RN 部分
1 | |
8.打包 执行命令:
1 | |
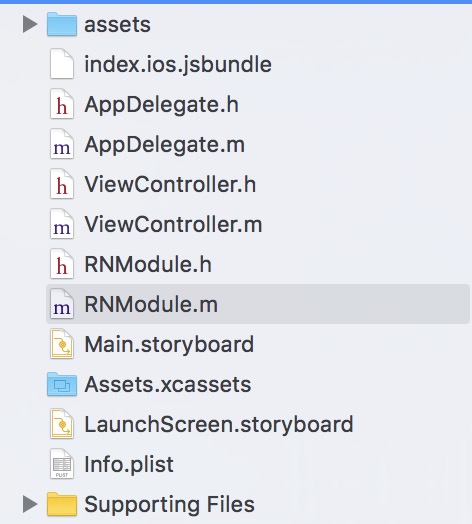
执行完上面的命令之后, 会在根目录里面得到一个 assets 的文件夹和 index.ios.jsbundle
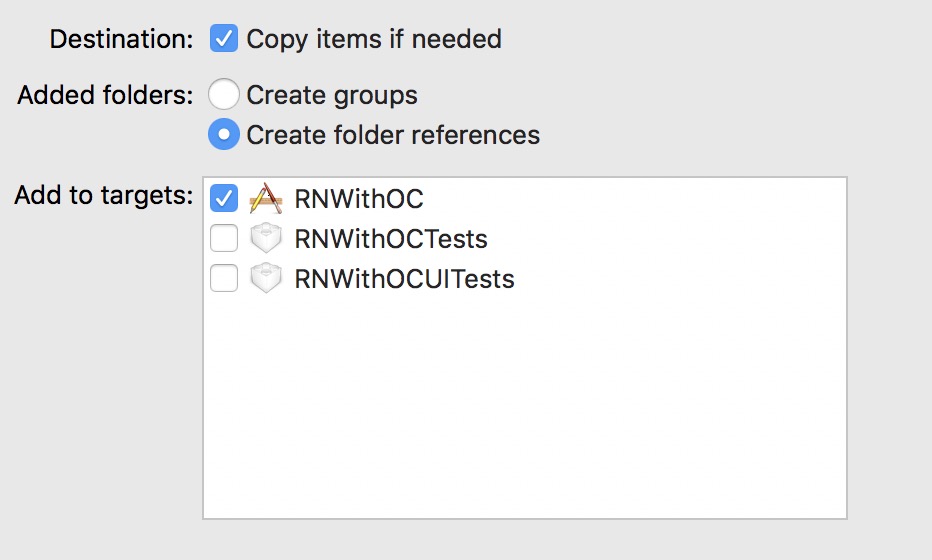
用导入蓝色文件夹这种方式导入到工程里面
 然后再把js的入口改成这样:
NSURL *jsCodeLocation = [[NSBundle mainBundle] URLForResource:@"index.ios" withExtension:@"jsbundle"];
再把工程改成 Release 模式就可以打包发布了