ReactNative ListView "电影列表"

接着上次的入门的卡片 demo 之后, 这次来写一个 ReactNative 中文网 上面的”电影列表”的例子, 记录一下 ListView 的相关知识

在 iOS 中, 创建一个 tableView 除 tableView 本身的控件以外, 还需要两个必要的东西, 一个是返回 cell 个数, 还有一个就是 tabelViewCell 也就是一个列表中每个表格的视图. RN 中的 ListView 和 tableView 写法还是比较相似的.

首先先导入 ListView 的包:

1
2
3
4
5
6
7
8
9
import React, {Component} from 'react';
import {
    AppRegistry,
    StyleSheet,
    Text,
    View,
    ListView, // 导入 ListView
    Image
} from 'react-native';

然后写入 ListView 的数据源和 Cell ListView 的数据源是长成这个样子的:

1
2
3
4
5
6
7
8
9
10
 constructor(props) {
    super(props);
    // 初始状态
    this.state = {
    // 在构造方法中初始化数据源
        dataSource: new ListView.DataSource({
            rowHasChanged: (row1, row2) => row1 !== row2
        })
    };
}

Cell 的写法也很简单, 其实就是自己写一个 View

1
2
3
4
5
6
7
8
9
10
11
12
13
14
15
16
17
18
19
20
21
22
23
24
25
26
27
28
29
30
31
 listViewCell() {
    return(
        <View style={cellStyle.mainContainer}>
            <Image style={cellStyle.avatar}>

            </Image>
            <View style={cellStyle.info}>

            </View>
        </View>
    );
}
const cellStyle = StyleSheet.create({
    mainContainer: {
        flex: 1,
        flexDirection: 'row'
    },
    avatar: {
        height: 80,
        width: 80,
        margin: 15,
        backgroundColor: '#666666'
    },
    info: {
        marginTop: 15,
        marginBottom: 15,
        marginRight: 15,
        flex: 1,
        backgroundColor: 'orange'
    },
});

然后在 render 中写入 ListView :

1
2
3
4
5
6
7
8
9
10
11
12
13
14
15
16
17
18
19
20
21
render() {
    return (
        <View style={styles.container}>
            // dataSource 为数据源, renderRow 配置 Cell
            <ListView dataSource={this.state.dataSource} renderRow={this.listViewCell} style={styles.listViewStyle}>

            </ListView>
        </View>
    );
}
const styles = StyleSheet.create({
    container: {
        flex: 1,
        justifyContent: 'center',
        backgroundColor: '#F5FCFF',
    },
    listViewStyle: {
        marginTop: 20,
        flex: 1
    }
});

这样之后, 我们就可以运行程序了, 如果报错了看看哪里配置不对. 如果运行成功了但是什么也没有就对了, 因为我们还没有把数据配置上去, 我们在组件加载完成之后先配置一些假数据上去:

1
2
3
4
5
6
7
8
9
componentDidMount() {
    let array = [];
    for (let i = 0; i < 20; i++) {
        array.push(i);
    }
    this.setState({
        dataSource: this.state.dataSource.cloneWithRows(array) // 关键 如果没有 cloneWithRows 就没有返回数据 传入的类型是一个数组
    });
}

那么刷新一下模拟器窗口, 大概是这个样子的:

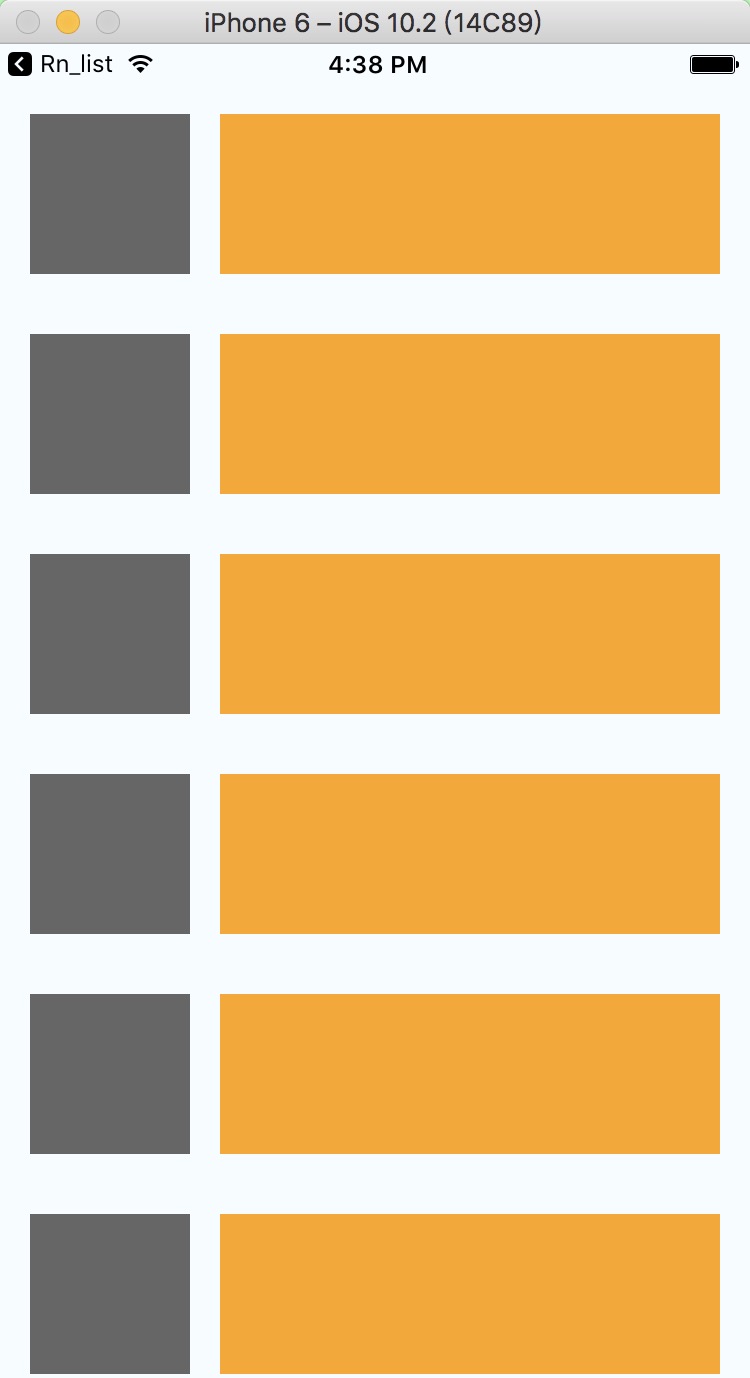
这样大概就是一个想要的列表效果了. 那如何把数据显示在列表上面呢? 在我们自定义的 Cell 中写入一个参数:

1
2
3
4
5
6
7
8
9
10
11
12
 listViewCell(Info) { 
    return(
        <View style={cellStyle.mainContainer}>
            <Image style={cellStyle.avatar}>

            </Image>
            <View style={cellStyle.info}>

            </View>
        </View>
    );
}

这个 Info 就是上面 cloneWithRows 的那个 array 数组取下标得到的对象, 也就是这样 array[cellIndex] 当然这个方法上还可以加一些其他参数来获取一些其他的值, 那这些参数具体代表什么呢? 我们可以看一下 ListView renderRow 的方法:

(rowData, sectionID, rowID) => renderable Takes a data entry from the data source and its ids and should return a renderable component to be rendered as the row. By default the data is exactly what was put into the data source, but it’s also possible to provide custom extractors.

1
renderRow?: ( rowData: any, sectionID: string | number, rowID: string | number, highlightRow?: boolean ) => React.ReactElement<any>

也就是说: 第一个参数是我们的所需要的数据, 第二个参数是当前的 section 的下标, 第三个参数是当前的行数下标

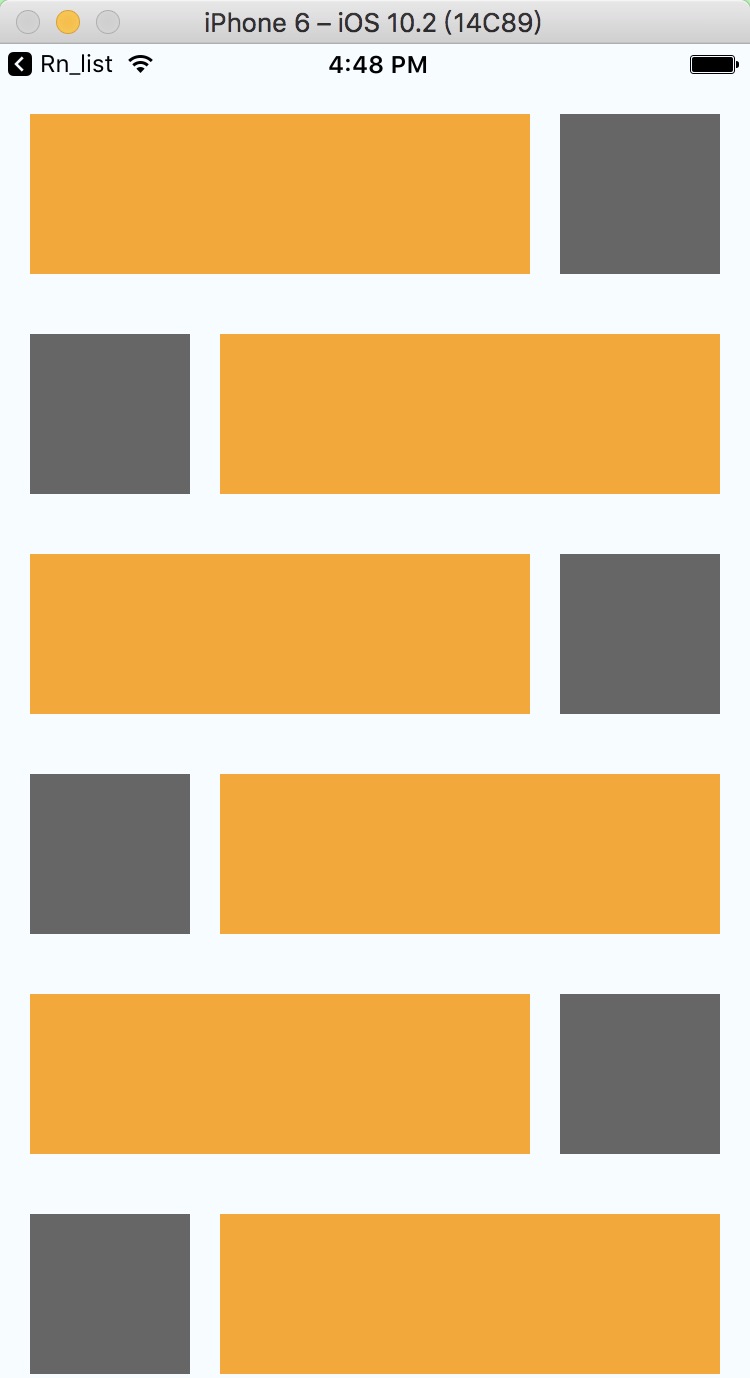
我们也可以利用数据源或者行数之类的来自定义 Cell :

1
2
3
4
5
6
7
8
9
10
11
12
13
14
15
16
17
18
19
20
21
22
23
24
25
26
27
28
29
30
31
32
33
34
35
36
37
38
39
40
41
42
43
44
45
46
47
48
49
50
51
52
53
54
55
56
57
58
59
60
61
listViewCell(Info) {
    // 根据数据源返回不同的 Cell
    console.log(Info);
    if (Info % 2 == 0) {
        return (
            <View style={cellStyle.mainContainer}>
                <View style={cellStyle.invertInfo}>

                </View>
                <Image style={cellStyle.invertAvatar}>

                </Image>
            </View>
        )
    }
    else {
        return(
            <View style={cellStyle.mainContainer}>
                <Image style={cellStyle.avatar}>

                </Image>
                <View style={cellStyle.info}>

                </View>
            </View>
        );
    }
}

const cellStyle = StyleSheet.create({
    mainContainer: {
        flex: 1,
        flexDirection: 'row'
    },
    avatar: {
        height: 80,
        width: 80,
        margin: 15,
        backgroundColor: '#666666'
    },
    info: {
        marginTop: 15,
        marginBottom: 15,
        marginRight: 15,
        flex: 1,
        backgroundColor: 'orange'
    },
    invertAvatar: {
        height: 80,
        width: 80,
        marginRight: 15,
        marginBottom: 15,
        marginTop: 15,
        backgroundColor: '#666666'
    },
    invertInfo: {
        margin: 15,
        flex: 1,
        backgroundColor: 'orange'
    }
});

刷新之后的效果:

其次, ListView 还有一个分组的功能, 也就是 iOS tableView 中的 section. 这个东西和配置 Cell 是一样的, 也是要有一个数据源方法和一个 sectionView. 我们先来看数据源部分:

1
2
3
4
5
6
7
8
9
10
constructor(props) {
    super(props);
    // 初始状态
    this.state = {
        dataSource: new ListView.DataSource({
            rowHasChanged: (row1, row2) => row1 !== row2, // 配置 Cell
            sectionHeaderHasChanged: (s1, s2) => s1 !== s2 // 配置 Section
        })
    };
}

sectionView 这次就写简单点吧 只写一个 Text 就可以了

1
2
3
4
5
6
7
listViewSection() {
    return(
        <View style={sectionStyle.mainContainer}>
            <Text>这里有一些Section</Text>
        </View>
    );
}

然后看 ListView 配置 section 部分:

1
2
3
4
5
6
7
8
9
 render() {
    return (
        <View style={styles.container}>
            <ListView dataSource={this.state.dataSource} renderRow={this.listViewCell} style={styles.listViewStyle} renderSectionHeader={this.listViewSection}> // 最后一个 renderSectionHeader 配置了 sectionView

            </ListView>
        </View>
    );
}

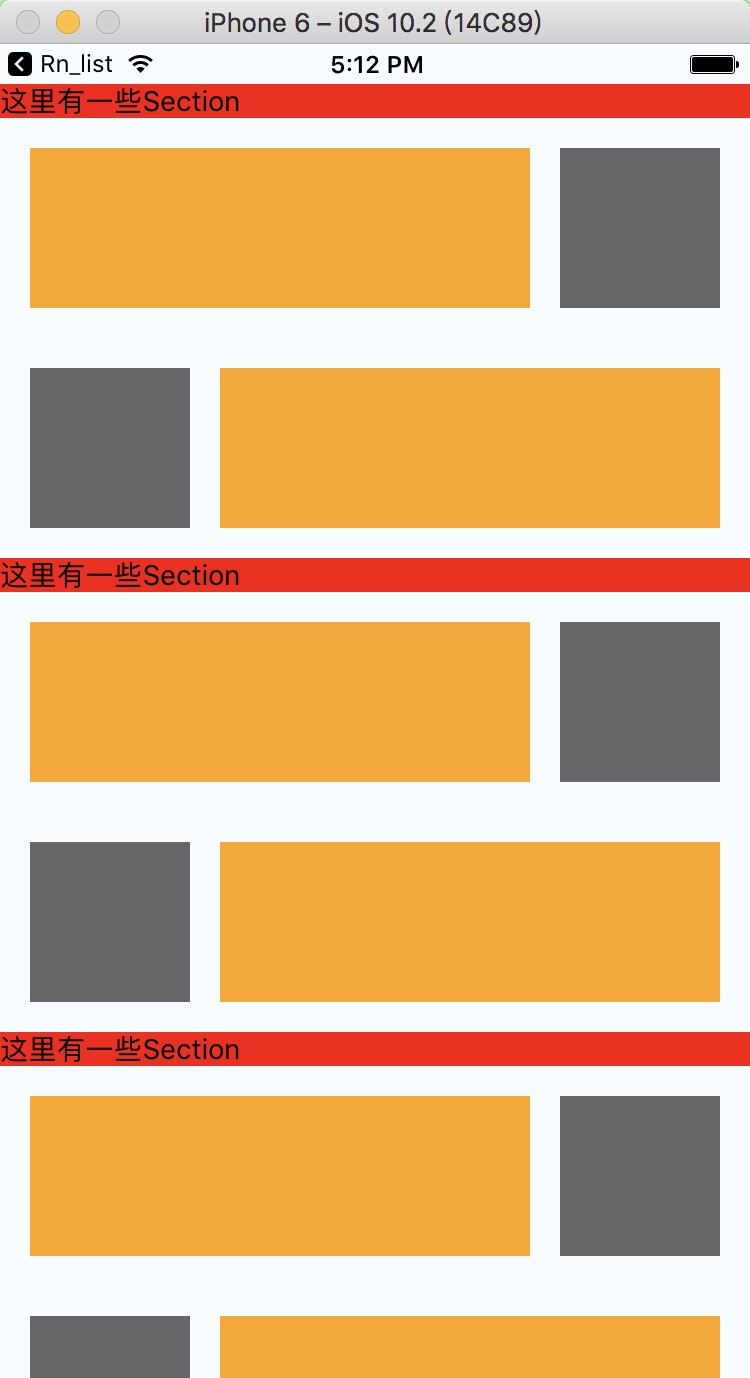
接下来是重要部分, 如果你的 ListView 中带有 Section 那么在刷新数据源的时候就不能使用 cloneWithRows 的方法了, 需要像这样写:

1
2
3
4
let array = {'a': [2, 3], 'b': [4, 5], 'c': [6, 7], 'd': [8, 9]};
    this.setState({
        dataSource: this.state.dataSource.cloneWithRowsAndSections(array) // 带 Section 返回数据的方法
})

好的, 现在在刷新一下, 效果大概是这样的:

有了自定义 Cell 和自定义 Section 基本上就能完成大部分工作了, 接下来把数据接进去:

1
2
3
4
5
6
7
8
9
10
11
12
13
14
15
16
17
18
19
20
21
22
23
24
25
26
27
28
29
30
31
32
33
34
// 请求链接
const requestAddress = 'http://c.3g.163.com/recommend/getChanListNews?channel=T1457068979049&passport=zvZe9MQ7cxTSrcWyjXHlNmWlYJxG7i%2FExMsC%2FIX1t2E%3D&devId=tYiXx8W73%2BGGquuNxF8c8PkrobMEegFcSVAs152mOWH7Vqve0omfVq78wYMgkonU&size=40&version=9.0&spever=false&net=wifi&lat=&lon=&ts=1464162516&sign=rC4vOZ5ChMjNUe8YKmdGHE3VIm%2BZjtNzO49jFFbSUJx48ErR02zJ6%2FKXOnxX046I&encryption=1&canal=appstore';

// 请求数据
requestData() {
    fetch(requestAddress)
        .then((response) => response.json())
        .then((responseData) => {
            let array = responseData['视频'];
            this.setState({
                data: this.state.data.cloneWithRows(array) // 这里我用的还是原来的列表样式
            })
        })
        .catch((error) => {
            alert(error); // 抛出异常
        })
}

// 组件加载完成请求网络数据
componentDidMount() {
    this.requestData();
}

constructor(props) {
    super(props);
    // 初始状态
    this.state = {
        data: new ListView.DataSource({
            rowHasChanged: (row1, row2) => row1 !== row2,
        })
    };
    // 别忘了在构造方法中绑定 this 否则会提示方法找不到
    this._refreshData = this._refreshData.bind(this);
}

自定义的 Cell 为了方便观看直接写行内样式了

1
2
3
4
5
6
7
8
9
10
11
12
13
14
15
16
17
18
19
20
listCell(Info) {
    return (
        <View style=>
           <Image source= style=>

           </Image>
          <View style=>
              <Text style=>
                  {Info['title']}
              </Text>
              <Text style= numberOfLines={2}> // 限制行数为 2 行
                  {Info['topicDesc']}
              </Text>
              <Text style=>
                  {Info['ptime']}
              </Text>
          </View>
        </View>
    )
}

最终效果:

另外: ListView 貌似没有提供点击事件, 我们可以在每个 cell 的最外面层套上一个 TouchableOpacity 来支持点击事件, 参数像 cell 那样传输就可以